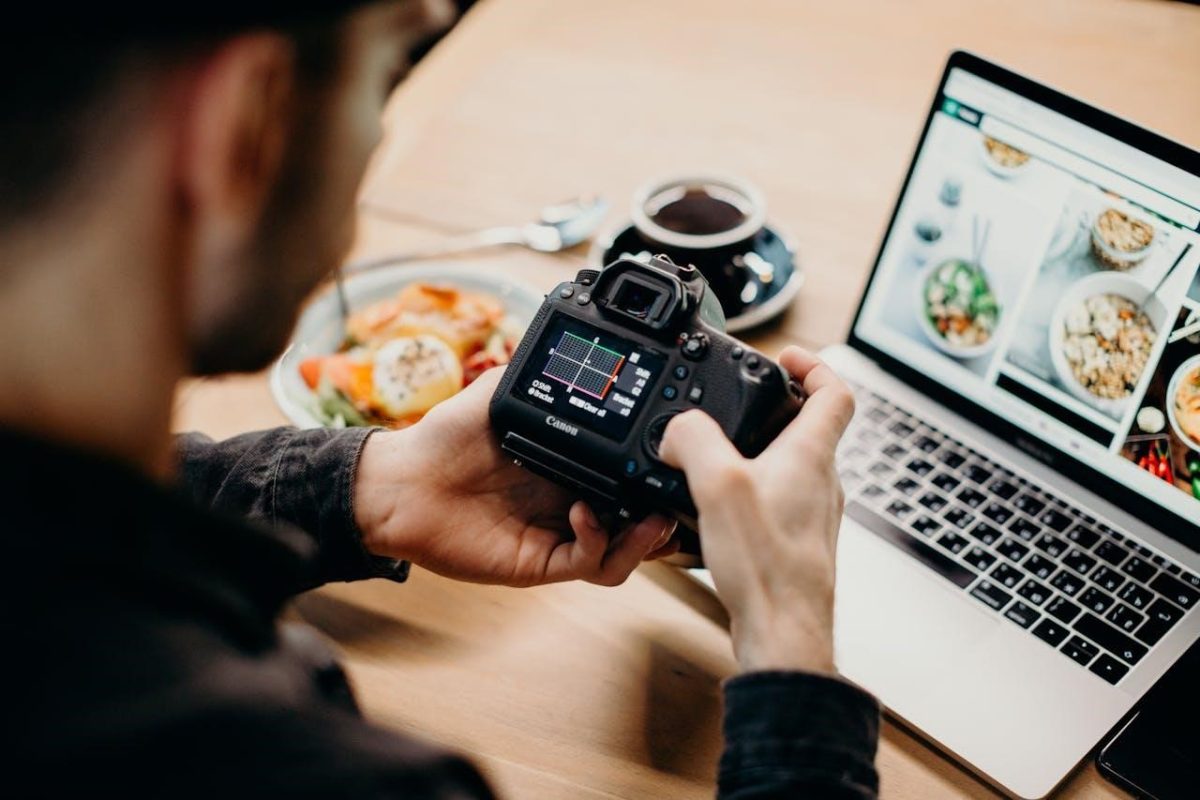
When diving into photography, mastering the exposure triangle is essential for capturing well-balanced images. One of the most important components of this triangle is the aperture, controlled by the f-stop.
Understanding how to change the f-stop on your Canon EOS Rebel T8 allows you to influence the depth of field and control the amount of light entering the camera, which directly affects the exposure and sharpness of your photos.
The f-stop controls how wide the aperture of the lens is, influencing both the amount of light and the depth of field in your shots. A smaller f-stop number, such as f/2.8, creates a wider aperture, allowing more light and a shallower depth of field.
On the other hand, a larger f-stop number, like f/16, results in a smaller aperture, letting in less light but offering a greater depth of field. This guide will take you step by step through the process of changing the f-stop on your Canon EOS Rebel T8.
Understanding the f-stop and Its Impact on Photography
The f-stop setting on your camera determines how much light enters the lens during a photo. This adjustment is crucial when working in different lighting conditions, allowing you to either let in more light in darker settings or reduce the light in overly bright environments.
F-stop also influences depth of field, which refers to the area of the image that appears in focus. A wide aperture (small f-stop) results in a blurry background, while a narrow aperture (larger f-stop) keeps more of the image in focus. As such, controlling the f-stop is essential for achieving the desired aesthetic in your photographs.
When shooting portraits, for instance, you might prefer a shallow depth of field with a wide aperture, while landscape photographers often opt for a smaller aperture to capture more details from foreground to background. Understanding the impact of f-stop on both light and depth of field will greatly enhance your photographic skills.
Why Adjusting the f-stop is Important on the Canon EOS Rebel T8
On the Canon EOS Rebel T8, adjusting the f-stop gives you more creative control over your shots. If you want to create a portrait with a beautifully blurred background, setting a low f-stop value will achieve that effect. In contrast, if you are photographing a scenic landscape and want everything in focus, adjusting to a higher f-stop value is the best choice.
In addition to creative control, the f-stop setting impacts the exposure triangle. By adjusting the f-stop, you influence the amount of light hitting the sensor, which interacts with your shutter speed and ISO settings to create the correct exposure. When you change the f-stop, you may also need to adjust other settings to maintain a proper exposure, making it important to understand how all the elements work together.
Moreover, the Canon EOS Rebel T8 offers easy access to f-stop adjustments, making it a great camera for beginners learning about aperture and exposure settings. By knowing how to control this aspect of photography, you can fine-tune your settings to achieve the desired result.
How to Change the f-stop on Your Canon EOS Rebel T8
To change the f-stop on your Canon EOS Rebel T8, first, make sure your camera is in Manual (M), Aperture Priority (Av), or Shutter Priority (Tv) mode. In these modes, you have the freedom to adjust the aperture setting.
In Aperture Priority mode (Av), you can directly control the f-stop, while the camera automatically adjusts the shutter speed to maintain proper exposure. Turn the main dial on top of the camera to select your desired f-stop value. You will notice that the value changes on the camera’s screen or in the viewfinder.
If you are in Manual mode, you will need to adjust both the shutter speed and f-stop to achieve the correct exposure. Use the dial to adjust the f-stop while keeping an eye on the exposure meter to ensure a balanced exposure. In either mode, the Canon EOS Rebel T8 provides clear feedback, making it easy to adjust the aperture.
Choosing the Right f-stop for Your Photography Style
Choosing the correct f-stop depends on the style of photography you are pursuing. For portraits, a wide aperture (low f-stop) is often preferred to create a shallow depth of field that isolates the subject from the background. This effect is especially popular for close-up shots, allowing the subject to stand out while creating a smooth, blurred background.
For landscape photography, a smaller aperture (higher f-stop) is ideal for keeping both the foreground and background in focus. By choosing an f-stop like f/8 or higher, you can ensure that your landscape shots have maximum sharpness from edge to edge.
In low-light situations, a wide aperture (low f-stop) can help you capture more light, preventing your photos from looking too dark. On the other hand, in bright light, a smaller aperture (higher f-stop) can help prevent overexposure and keep your photos balanced.
Using Aperture Priority Mode to Adjust f-stop
Aperture Priority mode (Av) is a great way to adjust the f-stop while letting the camera handle the shutter speed. This mode is especially useful when you want to focus on the depth of field and light control without worrying about the shutter speed.
To use Aperture Priority mode on your Canon EOS Rebel T8, turn the mode dial to “Av.” From here, use the main dial to adjust the f-stop to your desired value. The camera will automatically adjust the shutter speed based on the light available, ensuring your exposure remains correct.
This mode is ideal when you want creative control over the aperture but don’t want to manually adjust the shutter speed each time. The Canon EOS Rebel T8’s metering system will help you get the right exposure while you focus on other aspects of your shot.
The Relationship Between f-stop, ISO, and Shutter Speed
When changing the f-stop, it’s important to understand how it interacts with other exposure settings like ISO and shutter speed. Reducing the f-stop (making it wider) allows more light to enter the camera, which may require a faster shutter speed or a lower ISO setting to prevent overexposure.
Conversely, when using a smaller f-stop (narrower aperture), you may need to use a slower shutter speed or increase the ISO to maintain proper exposure. Adjusting one element of the exposure triangle often requires modifying the others to ensure a balanced image.
Understanding this relationship gives you greater control over your photos and helps you troubleshoot exposure issues. By learning how to adjust all three settings effectively, you can ensure the perfect exposure for every shot.