In the world of self-portrait photography, achieving precise framing and focus is essential. Knowing how to connect a DSLR camera to a monitor for self-portrait work can significantly enhance your results.
This setup allows for better visualization, ensuring you achieve your creative vision without constant trial and error. By using the monitor as a real-time display, you can align yourself perfectly in the frame and fine-tune details like lighting and composition.
This process may seem complex, but it is straightforward with the right tools and steps. Whether you’re a beginner or a seasoned photographer, connecting your DSLR to a monitor can elevate your workflow.
In this guide, we will explore the necessary equipment, step-by-step instructions, and tips for optimizing your setup. Additionally, we will address common challenges and provide practical solutions for a seamless experience.
Understanding the Benefits of a Monitor Setup
Using a monitor alongside your DSLR camera offers unparalleled convenience. It lets you preview your composition in real-time. This can be particularly useful for self-portraits, where adjusting your position without assistance can be challenging.
A connected monitor also ensures sharper focus. You can zoom in on specific details, avoiding the trial-and-error process typical of small camera screens. This feature is essential when striving for professional-quality results.
Furthermore, a monitor provides better visibility under different lighting conditions. Camera LCD screens may reflect light, making it difficult to review images. A larger, glare-free monitor eliminates this issue.
Lastly, incorporating a monitor enhances your creative control. It allows you to visualize the final shot before capturing it. This fosters experimentation with angles, expressions, and compositions.
Essential Equipment for the Connection
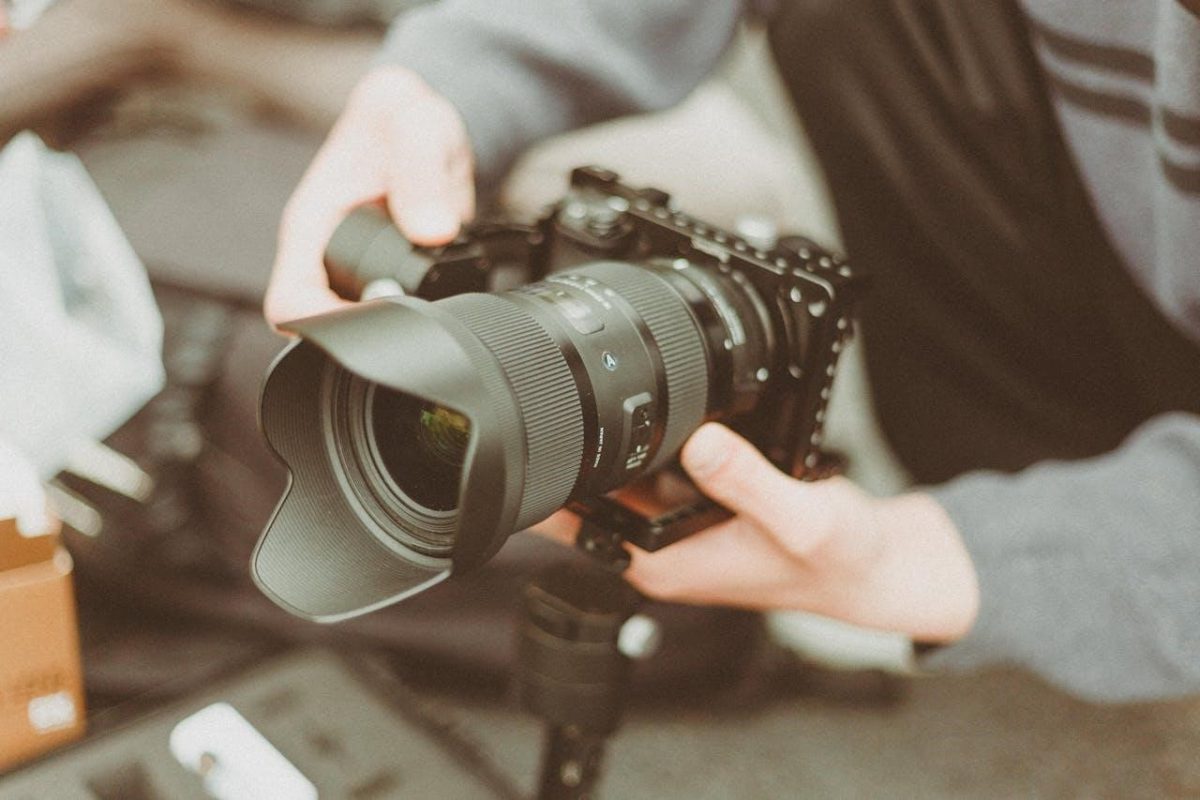
To begin, you will need a few specific items. First, ensure your DSLR camera supports live video output. This is critical for displaying real-time visuals on the monitor. Check your camera’s manual for compatibility details.
Next, choose the appropriate cable. HDMI cables are the most common choice, offering high-quality video transmission. Some cameras require a mini or micro HDMI connector, so verify your model’s requirements.
A monitor is, of course, essential. Portable monitors designed for photography are lightweight and offer excellent resolution. Alternatively, a standard computer monitor can also suffice.
Additional accessories, such as a tripod and monitor mount, can enhance stability and usability. These tools keep the setup organized, allowing for effortless adjustments during the shoot.
Connecting Your DSLR Camera to the Monitor
Start by powering off your camera and monitor. This step minimizes the risk of electrical damage during the connection process. Securely attach the HDMI cable to your camera’s output port.
Connect the other end of the HDMI cable to the monitor’s input port. Ensure both ends are firmly attached to avoid connection issues. Afterward, power on the monitor and the camera.
Navigate your camera’s settings menu to enable live view. This feature activates the real-time feed from your camera to the monitor. Adjust the resolution settings on the camera if necessary for optimal display quality.
Test the setup by framing yourself in the camera’s view. Use the monitor to check for accurate focus and composition. Make adjustments as needed, ensuring all elements align with your creative intent.
Optimizing Camera and Monitor Settings
To achieve the best results, customize your camera’s settings. Select a high-resolution image format, such as RAW, for superior detail and flexibility in editing. This ensures your final self-portraits maintain professional quality.
Adjust the monitor’s brightness and contrast settings. This step is crucial for accurately assessing exposure levels. Avoid overly bright settings, as they can misrepresent the actual lighting of your photos.
Utilize focus peaking features if your monitor supports them. These highlight sharp areas within the frame, simplifying the focusing process. This feature is especially beneficial for close-up self-portraits.
Experiment with your camera’s shooting modes. For self-portraits, a timer or remote shutter release can help capture images without touching the camera. This reduces vibrations and ensures sharp photos.
Addressing Common Challenges
One frequent issue is cable length. Short HDMI cables can limit your positioning options. Opt for longer cables or consider wireless HDMI transmitters for added flexibility.
Another challenge is power management. Both the camera and monitor consume significant energy during extended use. Carry spare batteries or invest in an external power source to prevent interruptions.
Some photographers encounter latency in the live feed. This can hinder precise adjustments. To resolve this, use high-quality HDMI cables and avoid wireless setups if latency becomes a problem.
Lastly, monitor placement can impact visibility. Position the monitor at eye level and angle it for comfortable viewing. This ensures you can focus on your composition without straining.
Practical Tips for Enhanced Self-Portrait Photography
Plan your shoot thoroughly before setting up the equipment. Determine the poses, lighting, and background you want to achieve. This saves time and streamlines the process.
Incorporate props or backdrops to add depth and interest to your portraits. Use the monitor to assess how these elements interact with the composition. Make adjustments as needed.
Experiment with lighting setups. The monitor allows you to see the effects of different lighting angles and intensities in real time. This enables precise control over shadows and highlights.
Lastly, review your images frequently during the session. The monitor provides a detailed view of each shot. This helps identify any adjustments required before moving to the next pose.
Mastering how to connect a DSLR camera to a monitor for self-portrait photography can significantly enhance your creative process. This setup allows for precise adjustments, ensuring professional-quality results. With the right equipment, proper connection steps, and optimized settings, you can achieve a seamless workflow.
Addressing common challenges and incorporating practical tips further improves your experience. By using a monitor, you gain better control over composition, focus, and lighting. This fosters confidence and encourages experimentation in your self-portrait photography.
Incorporating these techniques not only simplifies the process but also elevates the quality of your work. Whether capturing artistic portraits or professional headshots, this setup is an invaluable tool. Embrace the advantages of a monitor and unlock new possibilities in your photography journey.