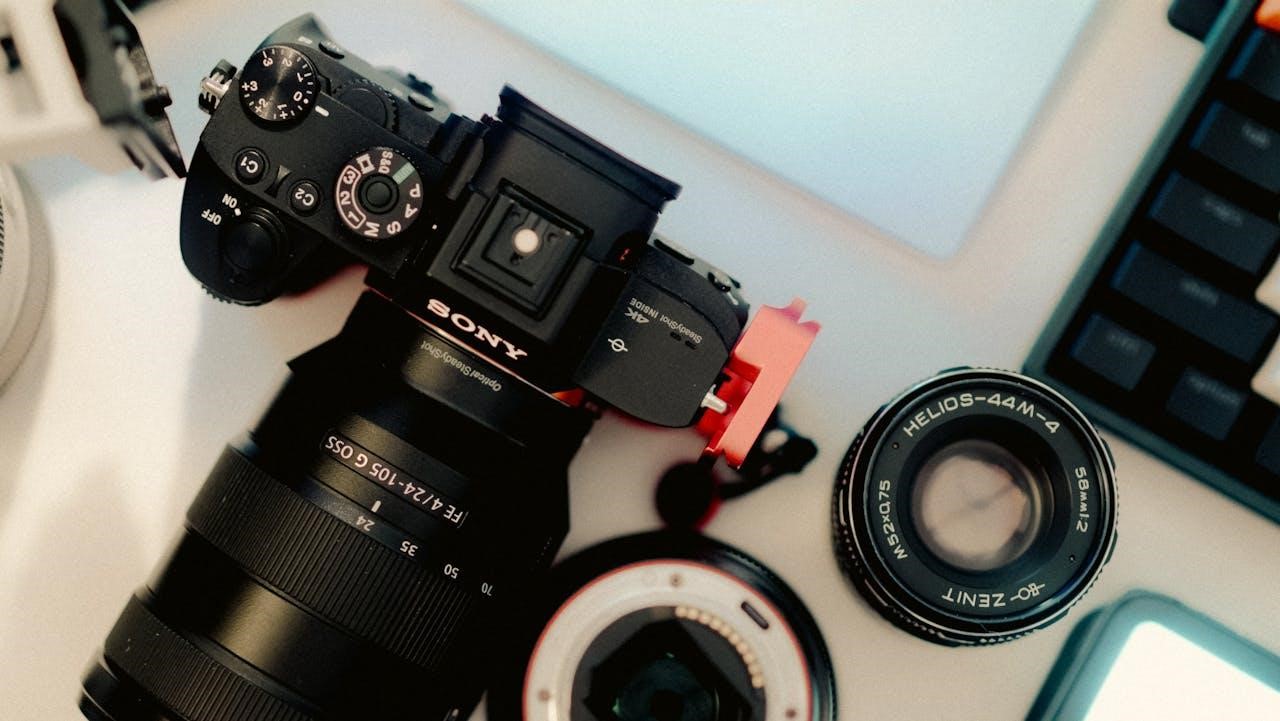
The Sony A7III is a highly regarded mirrorless camera, popular for both its performance and its compact size. However, for professional filmmakers and videographers, adding external equipment to the camera is essential for achieving the best results.
One common upgrade is rigging the camera with a monitor, which offers better visibility and control during shooting. By attaching an external monitor to the Sony A7III, filmmakers can ensure accurate framing, focus, and exposure, all while maintaining ease of use.
Rigging your Sony A7III with a monitor involves several steps, including selecting the right monitor, attaching it securely, and optimizing the settings for maximum performance. This blog will guide you through the necessary steps, helping you enhance your setup for more effective shooting. Whether you’re a novice or an experienced filmmaker, learning how to rig the Sony A7III with a monitor will significantly improve your filming capabilities.
Choosing the Right Monitor
When rigging your Sony A7III, selecting the right monitor is the first step. The ideal monitor should provide a high-resolution display to ensure you have a sharp, clear view of your shot. It should also be lightweight and compact, as the A7III is a smaller camera, and adding too much weight could compromise handling.
Additionally, look for a monitor with a wide color gamut, especially if you plan to use the footage for high-quality production. Some monitors also come with built-in features like waveform displays, focus peaking, and histograms that can help with exposure and focus settings, making your shoot more efficient. Keep in mind the battery life of the monitor, as longer filming sessions may require external power solutions.
A reliable connection between the camera and the monitor is crucial, so ensure that the monitor has compatible input options such as HDMI for the Sony A7III.
Mounting the Monitor
Once you’ve chosen your monitor, the next step is mounting it onto your Sony A7III. Many filmmakers use a camera cage to create a secure and stable platform for mounting accessories. A cage will provide multiple threaded holes for mounting the monitor and other tools, such as microphones or lights. It also adds additional protection to the camera, which is beneficial for outdoor or rough shooting environments.
Attaching the monitor to the cage can be done with a simple articulating arm or a more rigid mounting bracket. The articulating arm allows for flexible positioning, so you can adjust the monitor to the best angle depending on your shooting perspective. Ensure the monitor is firmly mounted to prevent any unwanted shaking or movement during filming, which could disrupt the shot.
Always check that the mount is secure before starting your shoot, as any loose fittings could result in the monitor shifting or detaching entirely.
Connecting the Monitor to the A7III
With the monitor securely mounted, the next task is connecting it to your Sony A7III. This is typically done through the HDMI port on the camera. The Sony A7III comes with a micro HDMI output, so you’ll need a compatible micro HDMI to HDMI cable to establish the connection between the camera and the monitor.
Once connected, you’ll be able to see a live preview of your shot on the monitor. This is especially useful for high-contrast scenes or when shooting outdoors, where the A7III’s built-in display may not be bright enough to see details clearly. A monitor will provide a larger, more vivid display, improving your focus and framing accuracy.
It’s also important to check that the HDMI connection is secure, as loose cables can cause signal drops or quality degradation, disrupting your shoot.
Powering the Monitor and Camera
Powering your camera and monitor effectively is another key consideration when rigging the Sony A7III. Both devices typically rely on separate power sources, so ensuring a consistent power supply is crucial for uninterrupted shooting. Many monitors come with battery slots or support for external battery packs, which can be useful for longer shoots.
Consider investing in a power solution like a V-mount or NP-F battery plate, which can power both the camera and the monitor simultaneously. This way, you avoid running out of battery on either device during your shoot. Some filmmakers prefer to use AC adapters, especially for studio shoots, where power outlets are readily available.
Managing your power setup is vital, as dead batteries can bring your filming to an abrupt halt. Make sure you have sufficient backup batteries or external power options on hand.
Adjusting the Settings for Optimal Performance
Now that your Sony A7III is rigged with a monitor, it’s essential to adjust the settings for optimal performance. Start by adjusting the camera’s HDMI output settings, ensuring the display sends the correct signal to the external monitor. Depending on your monitor, you may want to adjust the resolution, frame rate, or color settings to match your shooting needs.
Many monitors offer tools like focus peaking, false color, and histograms, which help improve exposure and focus accuracy. Be sure to enable these features on your monitor if they are available. Additionally, adjust the brightness, contrast, and saturation settings to suit the lighting conditions of your shoot.
For a more streamlined experience, use the camera’s menu system to display essential information on the monitor’s screen, such as battery life, exposure settings, and focus peaking.
Monitoring and Recording
Once your Sony A7III is rigged with a monitor and settings are adjusted, it’s time to begin monitoring your shots in real-time. The external monitor provides an invaluable tool for evaluating your framing, focus, and exposure, ensuring that you’re capturing the best footage possible.
For recording, some external monitors also offer the ability to record the feed directly to an external storage device. This can be a useful feature for longer takes or when shooting in higher resolutions like 4K. Ensure that your recording device has sufficient storage space and is compatible with the format and resolution of the footage.
While the Sony A7III provides great internal recording options, using an external recorder can provide higher-quality footage, more storage, and additional file format flexibility.